
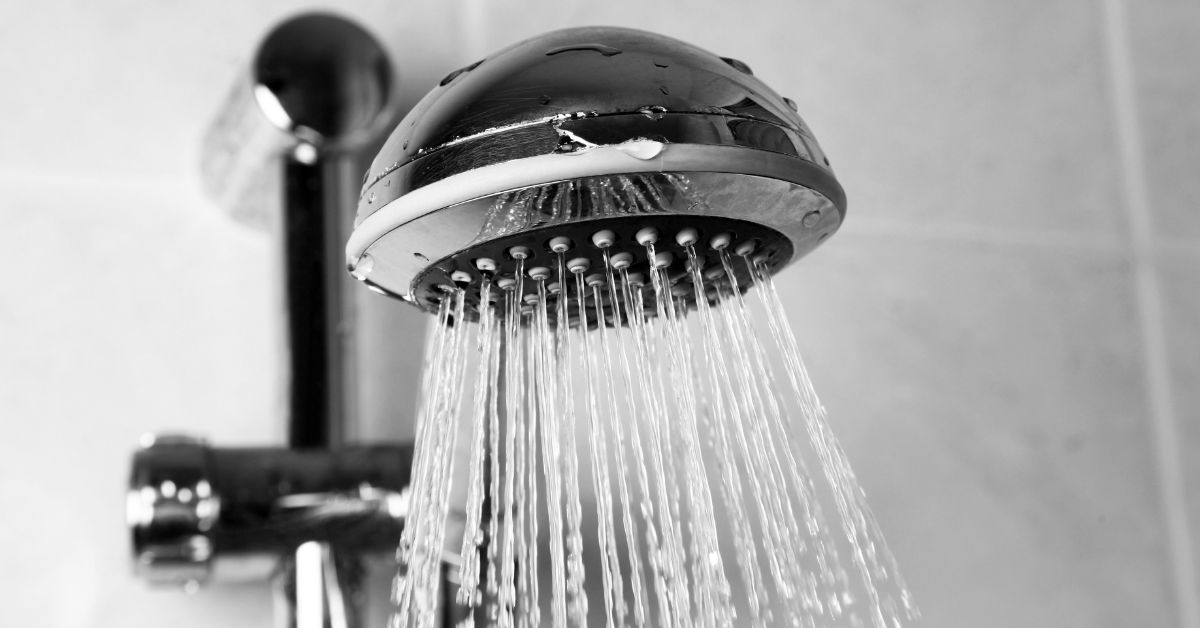
That incessant dripping sound from the bathroom isn’t just a minor annoyance; it’s the sound of your money and a precious resource going straight down the drain. A leaking shower faucet is a common household problem, but the good news is that, with a little guidance, it’s fixable. Most homeowners can tackle this project in an afternoon.
In my 15 years as a plumbing and home repair expert, How to repair a dripping shower, This comprehensive guide will walk you through every step of a dripping shower repair, empowering you to solve the problem, stop wasting water, and save yourself the cost of a professional service call.
The True Cost of a Leaking Shower Faucet
It’s easy to underestimate the impact of a few drips. However, the numbers are often shocking. A shower that drips just once per second can waste over 3,000 gallons of water in a single year. That’s enough water for nearly 200 showers!
This waste directly translates to higher water and energy bills, as often it’s the hot water line that’s leaking. A successful shower leak fix isn’t just about restoring peace; it’s a smart financial and environmental decision. Taking action now is a key part of responsible homeownership and plumbing maintenance.
Before You Begin: Essential Tools and Preparation
A successful repair starts with proper preparation. Before you touch a single screw, the most critical first step is to shut off the water supply to the shower. Look for shutoff valves in an access panel behind the shower or the main water shutoff for your home. Once the water is off, open the faucet to drain any remaining water from the pipes. Gathering your tools beforehand will make the process smooth and prevent multiple trips to the hardware store. Here’s what you’ll typically need:
- Screwdriver Set: Both Phillips head and flathead are essential.
- Adjustable Wrench or Pliers: For gripping and turning nuts and faucet components.
- Hex Keys (Allen Wrenches): Many modern faucet handles use a small hex screw.
- Utility Knife: To carefully cut away old caulk if necessary.
- Rags or an Old Towel: Use these to protect your tub or shower floor from scratches and to plug the drain so you don’t lose small screws.
- Replacement Parts: This will be a new cartridge, O-rings, or washers, depending on your faucet type.
First, Identify Your Shower Faucet Type
The secret to a successful dripping shower repair is knowing what kind of faucet you have. The internal mechanics differ, so the parts you need will vary. The vast majority of shower faucets fall into one of two categories.
- Cartridge Faucets (Single Handle): This is the most common type in modern homes. A single handle controls both the water volume and temperature. The leak is almost always caused by a worn-out plastic or brass cartridge inside the faucet body, which needs to be replaced as a single unit.
- Compression Faucets (Two Handles): Often found in older homes, this style has separate handles for hot and cold water. A drip is typically caused by a worn-out rubber washer or a faulty O-ring located in the faucet stem. This is a classic bathroom plumbing repair job.
Step-by-Step: How to Repair a Dripping Shower (Single-Handle Cartridge Faucet)
Since cartridge faucets are so prevalent, we’ll focus on this repair in detail. The most important tip I can give you is this: once you remove the old cartridge, take it with you to the hardware store to ensure you buy an identical replacement. This simple step prevents a world of frustration.
Step 1: Remove the Handle
Look for a small set screw. It’s often hidden under a decorative cap on the handle, which you can pry off with a small flathead screwdriver. Loosen the screw with a hex key or a screwdriver, then pull the handle straight off.
Step 2: Remove the Escutcheon Plate
The escutcheon is the decorative plate sitting against the wall. It’s usually held in place by two screws. Remove them and gently pull the plate away. You may need to cut through a bead of caulk with your utility knife.
Step 3: Expose and Remove the Cartridge
You should now see the end of the faucet valve. There might be a decorative sleeve or stop tube over it; slide it off. You’ll then see the cartridge, which is held in place by a small retaining clip, a threaded bonnet nut, or screws. Carefully remove the clip or nut.
Step 4: Pull Out the Old Cartridge
The cartridge should pull straight out. If it’s stuck due to mineral buildup, don’t force it by twisting excessively. You can buy an inexpensive “cartridge puller” tool designed specifically for this purpose. It’s a worthwhile investment for any tough bathroom plumbing repair.
Step 5: Install the New Cartridge and Reassemble
Lightly lubricate the O-rings on the new cartridge with plumber’s grease (if provided) and slide it into the valve body, making sure it’s aligned correctly (often there’s a notch to guide you). Re-insert the retaining clip or tighten the bonnet nut. Then, reassemble the remaining parts in reverse order: the sleeve, escutcheon plate, and handle.
Step 6: Test Your Work
Turn the water supply back on slowly and check for any leaks around the handle and spout. Turn the faucet on and off a few times. If all is dry, you have completed your shower leak fix!
When Is It Time to Call a Professional Plumber?

Repair is incredibly rewarding, but it’s also important to know your limits. A simple dripping shower repair can become a major problem if mishandled. You should stop and call a professional if you encounter any of the following:
- The drip continues even after you’ve replaced the parts.
- A component is so corroded or stuck that you risk breaking it or the pipe.
- You suspect the leak is coming from the pipes inside the wall, not the faucet itself.
- You simply don’t feel comfortable or confident proceeding with the repair.
There is no shame in calling for expert help. A professional can diagnose and fix the issue quickly, preventing potential water damage from a failed repair attempt. Our team at Plumbing Experts provides comprehensive leak detection services and emergency plumbing repairs throughout South Florida. We also specialize in faucet drip repairs and can handle any plumbing pipe repairs you may need.
Pro Plumbing Maintenance Tips to Prevent Future Leaks
Once you’ve fixed your leak, you’ll want to keep it that way. Good plumbing maintenance can extend the life of your fixtures and prevent future drips.
- Be Gentle: Avoid turning faucet handles off with excessive force. This wears out washers and cartridges prematurely.
- Address Hard Water: If you have hard water, mineral buildup is your enemy. Consider installing a whole-house water softener to protect all your plumbing fixtures and appliances.
- Perform Regular Checks: Once a month, take a moment to check all the faucets in your home for small drips or stiffness in the handles. Catching problems early is key.
Your Drip-Free Shower Awaits
Fixing a dripping shower is one of the most satisfying projects you can undertake. With the right tools and a bit of patience, you can solve the problem, conserve a vital resource, and lower your utility bills. By following this guide on how to repair a dripping shower, you’ve not only fixed the leak but also gained valuable home maintenance skills. So, congratulations on taking control of your home’s plumbing. Enjoy the quiet and the satisfaction of a job well done.
If you need professional assistance with any plumbing issues in Palm Beach, Broward, or Martin County, contact Plumbing Experts today. We’re here to help with all your plumbing needs!