
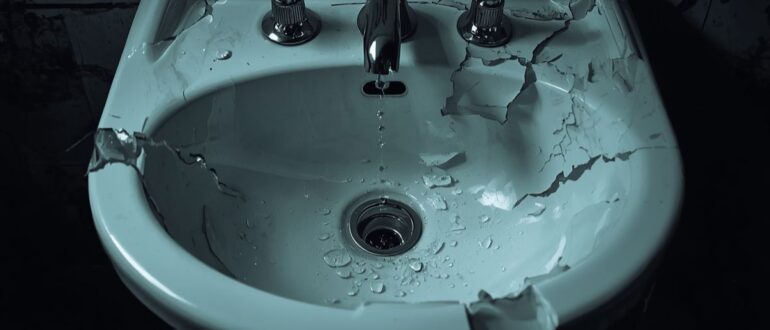
Discovering a crack in your bathroom sink can be disheartening. It’s an eyesore that disrupts the clean look of your space and raises concerns about potential leaks and costly replacements. But before you start shopping for a new sink, take a deep breath. Many cracks, from fine hairline fractures to more noticeable splits, are well within the scope of a determined DIY-er.
This comprehensive guide walks you through everything you need to know to repair crack in bathroom sink. We’ll cover how to assess the damage, the tools you’ll need, and a step-by-step process for a near-invisible fix. This is your go-to resource for effective plumbing repair solutions that save you time and money.
First, Assess the Damage: Is Your Sink a Candidate for Repair?
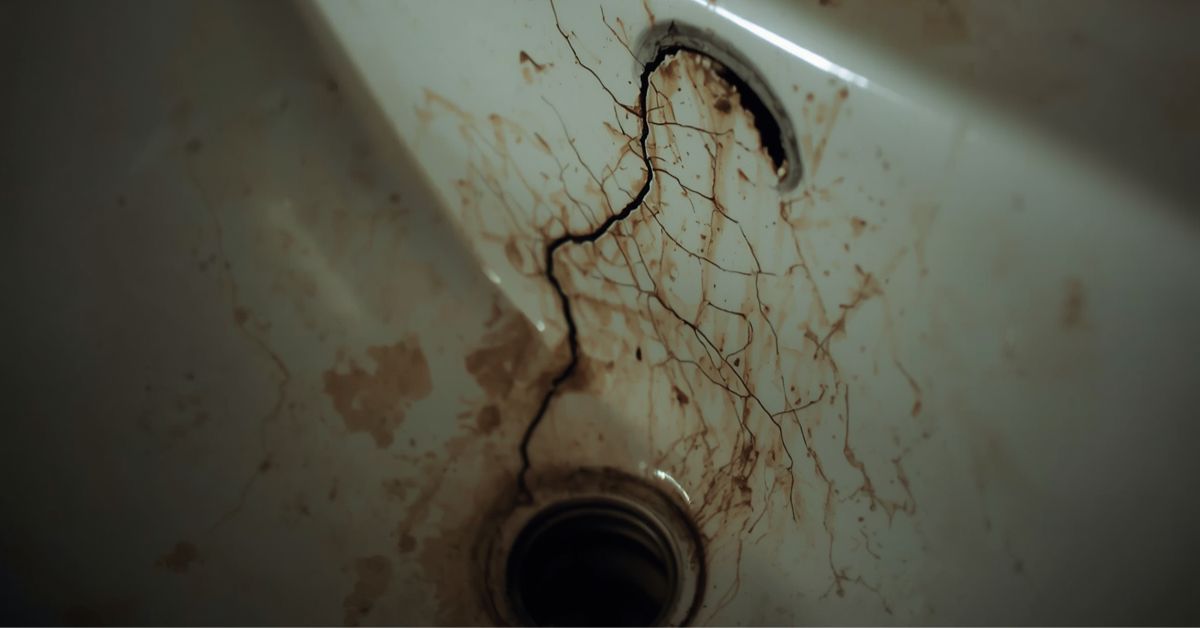
Not all cracks are created equal. The success of a cracked sink repair depends heavily on the type of damage you’re dealing with. Before you begin, take a moment to carefully inspect the sink, which is typically made of porcelain or ceramic.
Look for these key indicators to determine if a DIY sink repair is the right approach:
- Hairline Cracks: These are very fine surface-level cracks that haven’t penetrated the sink’s glaze. They are almost always repairable.
- Deeper Cracks: A crack you can feel with your fingernail requires more attention but is still a good candidate for repair, especially if it doesn’t leak.
- Leaking Cracks: If water is seeping through, the repair is more urgent. A high-quality epoxy filler is essential to create a waterproof seal.
- Structural Cracks: Large, deep cracks that threaten the sink’s integrity, especially those near the drain or mounting points, may require professional help.
If the sink feels loose or pieces are missing, replacement is often the safer option.
Gathering Your Tools: The DIY Sink Repair Toolkit
Having the right materials on hand makes all the difference. A successful sink crack fix relies on proper preparation and the right products. You can find most of these items at your local hardware or home improvement store.
Here’s your essential shopping list:
- Two-Part Epoxy Repair Kit: The star of the show. Choose a kit specifically designed for porcelain and ceramic. Many come in white or can be tinted to match your sink’s color.
- Fine-Grit Sandpaper: You’ll need a small piece of 220-grit or finer sandpaper to prep the surface for better adhesion.
- Cleaning Agent: Acetone or rubbing alcohol works best to remove soap scum, oils, and residue, ensuring a strong bond.
- Applicator Tool: A small putty knife, a razor blade, or even a toothpick will work for applying the epoxy precisely.
- Protective Gear: Always wear gloves and safety glasses when working with epoxy and cleaning agents.
- Soft Cloths or Paper Towels: For cleaning and wiping away excess material.
- Optional Touch-Up Paint: For a perfect finish, a porcelain touch-up paint pen can help blend the repair seamlessly.
Step-by-Step Guide: How to Repair a Crack in a Bathroom Sink

With your tools gathered, it’s time to tackle the repair. Follow these bathroom sink repair tips carefully for a professional-quality result. Patience is key, especially during the drying and curing stages.
Step 1: Clean and Dry the Area Thoroughly
The success of your repair hinges on a perfectly clean surface. Use a soft cloth with acetone or rubbing alcohol to meticulously clean the crack and the surrounding area. This removes any soap scum, oils, or grime that could prevent the epoxy from bonding correctly. Ensure the sink is completely dry before moving on.
Step 2: Gently Sand the Crack
Lightly scuff the crack and the immediate area with your fine-grit sandpaper. This isn’t about removing material; it’s about creating a slightly rougher texture. This micro-abrasion provides the epoxy with a better surface to grip, resulting in a much stronger, more durable repair.
Step 3: Prepare and Mix the Epoxy
Follow the manufacturer’s instructions for your epoxy kit, mixing the two parts on a disposable surface, such as a piece of cardboard. Mix only the amount you need for the repair. Work quickly, as most epoxies have a limited working time once mixed.
Step 4: Apply the Epoxy Filler
Using your applicator tool, carefully press the mixed epoxy into the crack. The goal is to fill it completely. Apply a small amount of pressure to ensure there are no air bubbles. It’s better to slightly overfill the crack than to underfill it.
Step 5: Smooth and Level the Surface
Immediately after applying, use the straight edge of a putty knife or razor blade to scrape away the excess epoxy, making it as flush with the sink’s surface as possible. This will save you a lot of sanding later. Wipe away any smears on the surrounding sink surface with a cloth dampened with alcohol.
Step 6: Allow it to Cure Completely
This is the most important waiting game in home plumbing maintenance. Refer to your epoxy kit for the specific curing time, which is typically 24 hours. Do not use the sink, run water, or touch the repair during this period. Allowing it to fully harden is critical for a waterproof seal.
Step 7: Final Sanding and Finishing
Once fully cured, the epoxy should be rock-hard. If the repaired area is slightly raised, use your fine-grit sandpaper to gently sand it down until it’s perfectly smooth and level with the rest of the sink. For an even more flawless finish, use ultra-fine wet-sandpaper (400 or 600 grit) for the final pass.
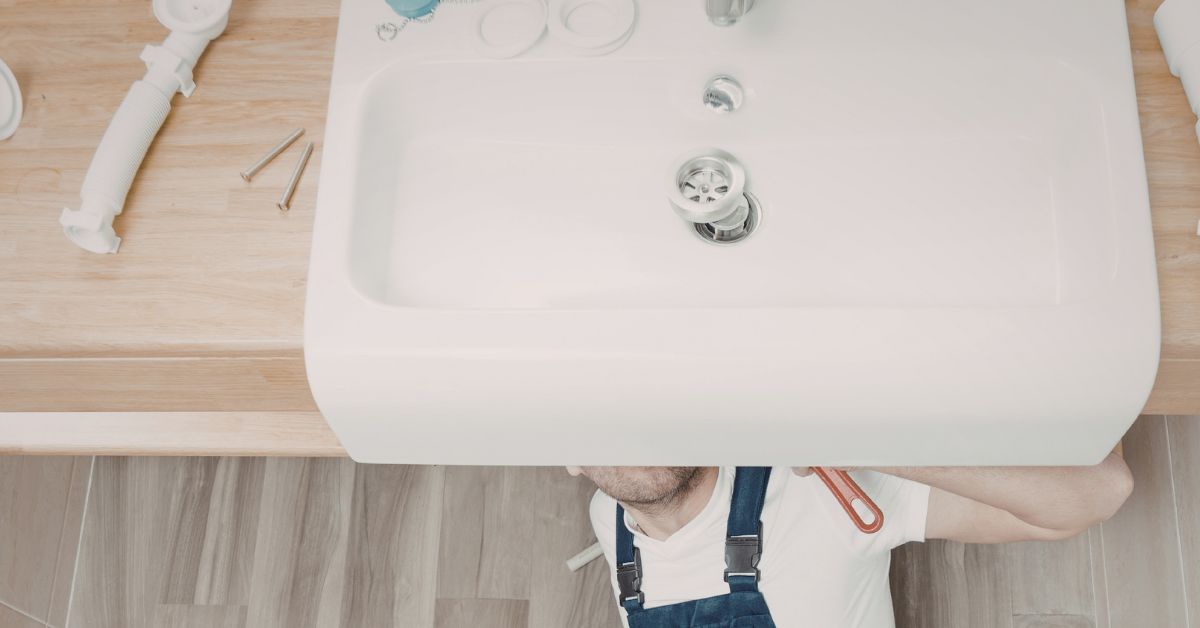
When to Call the Professionals: Knowing Your Limits
While a DIY sink repair is a great solution for many common problems, some situations are best left to the experts. Attempting to repair a severely damaged sink can lead to larger leaks and more complex bathroom plumbing issues. It’s time to look for professional sink repair services if you encounter any of the following:
- The crack is longer than a few inches or wider than 1/8 of an inch.
- The crack goes all the way through the sink basin, creating a significant leak.
- The sink’s structural integrity is compromised, meaning it feels loose or wobbly.
- Large chips or pieces of the sink are missing along the crack.
- The sink is made of a unique material, such as natural stone or glass, or is a valuable antique.
- In these cases, contacting certified plumbing experts will ensure the job is done safely and correctly, protecting your home from potential water damage.
Conclusion: A Flawless Sink is Within Your Reach
A crack in your bathroom sink doesn’t have to mean a big expense or a major renovation project. With the right tools, a little patience, and this expert guide, you have the power to restore your sink’s appearance and functionality. This simple cracked sink repair not only saves you money but also empowers you with valuable home maintenance skills. By following these steps, you can achieve a durable, waterproof, and nearly invisible repair that will extend the life of your sink for years to come. So roll up your sleeves and get ready to enjoy a bathroom that looks as good as new.