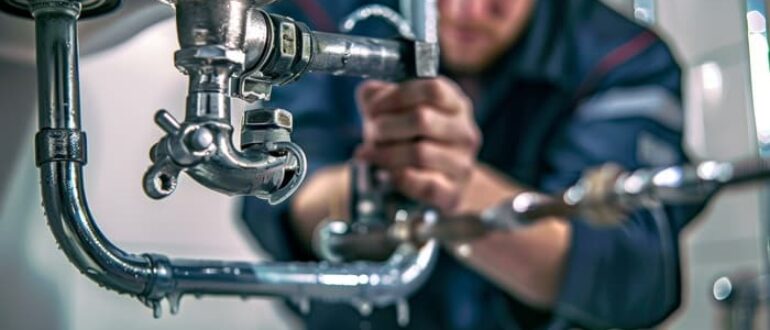
Dealing with a faucet leak? It’s one of the most common plumbing issues homeowners face. While the sound of constant dripping may be annoying, what’s more concerning is the amount of water and money you’re wasting. A leaking faucet can add up to hundreds of gallons of water over time, leading to higher utility bills. Luckily, fixing a faucet leak is a task most homeowners can handle with the right guidance. At Plumbing Experts, we’re dedicated to helping Boca Raton residents address their plumbing concerns. Here’s our simple step-by-step guide to fixing that faucet leak and saving water.
Step 1: Gather Your Tools
Before diving into fixing the leak, make sure you have all the necessary tools on hand. Having the right tools will save time and avoid frustration. For your Boca Raton faucet leak, you’ll need:
- Adjustable wrench
- Screwdriver (flathead or Phillips, depending on your faucet)
- Replacement parts (washers, O-rings, etc.)
- Plumber’s tape
- Towel or rag
Step 2: Shut Off the Water Supply
Before starting the repair, make sure to turn off the water supply to prevent water from spraying out while you’re working. The shut-off valve is usually located under the sink. Turn the valve clockwise to stop the water flow and get ready to fix your Boca Raton faucet leak.
Step 3: Disassemble the Faucet
Using your screwdriver, remove the handle of your faucet. This will give you access to the faucet’s interior parts. You may need to use an adjustable wrench to loosen the handle if it is stuck. Once the handle is removed, you will see a small screw that holds the cartridge or stem in place. Unscrew this and remove the cartridge or stem from the faucet.
Step 4: Inspect and Replace Parts
Inspect the interior components of your faucet. In most cases, a it is caused by worn-out washers or O-rings. These parts can easily be replaced with new ones. If you notice any additional damage, such as a cracked cartridge or faulty stem, you’ll need to replace those as well.
Pro Tip: Use Plumber’s Tape
Before reassembling your faucet, apply a few wraps of plumber’s tape around the threads of the faucet. This will create a tight seal and prevent any future leaks.
Step 5: Reassemble the Faucet
Once you have replaced any damaged parts, it’s time to reassemble your faucet. Follow the reverse order of disassembly, making sure all parts are securely in place. Use your screwdriver to tighten the handle back onto the faucet.
Step 6: Turn the Water Supply Back On
Now that the faucet is reassembled, slowly turn the water supply back on by twisting the valve counterclockwise. Check for any leaks or drips. If your faucet is working properly and no water is escaping, congratulations! You’ve successfully fixed your faucet leak.
Additional Tips
- If you are unsure of which parts to replace or are having trouble finding them, take a picture of your faucet and bring it to your local hardware store. They can help you find the right parts.
- If you notice that your faucet is still leaking after following these steps, it may be a sign of a more significant plumbing issue. In this case, it’s best to call a professional plumbing service in Boca Raton for assistance.
- Regularly check your faucets for leaks and fix them immediately to avoid wasting water and money on your utility bill.
A faucet leak can be an inconvenience, but by following this step-by-step guide, you can handle the problem yourself and save both water and money. If you run into any difficulties or the issue turns out to be more complex, don’t hesitate to reach out to Plumbing Experts. As the trusted professionals in faucet leak repair, we’re here to help ensure your plumbing is always in top shape. Remember, fixing leaks promptly prevents further damage and saves on your water bill. Contact Plumbing Experts today for expert plumbing assistance!


